What Is Blow-in Insulation?
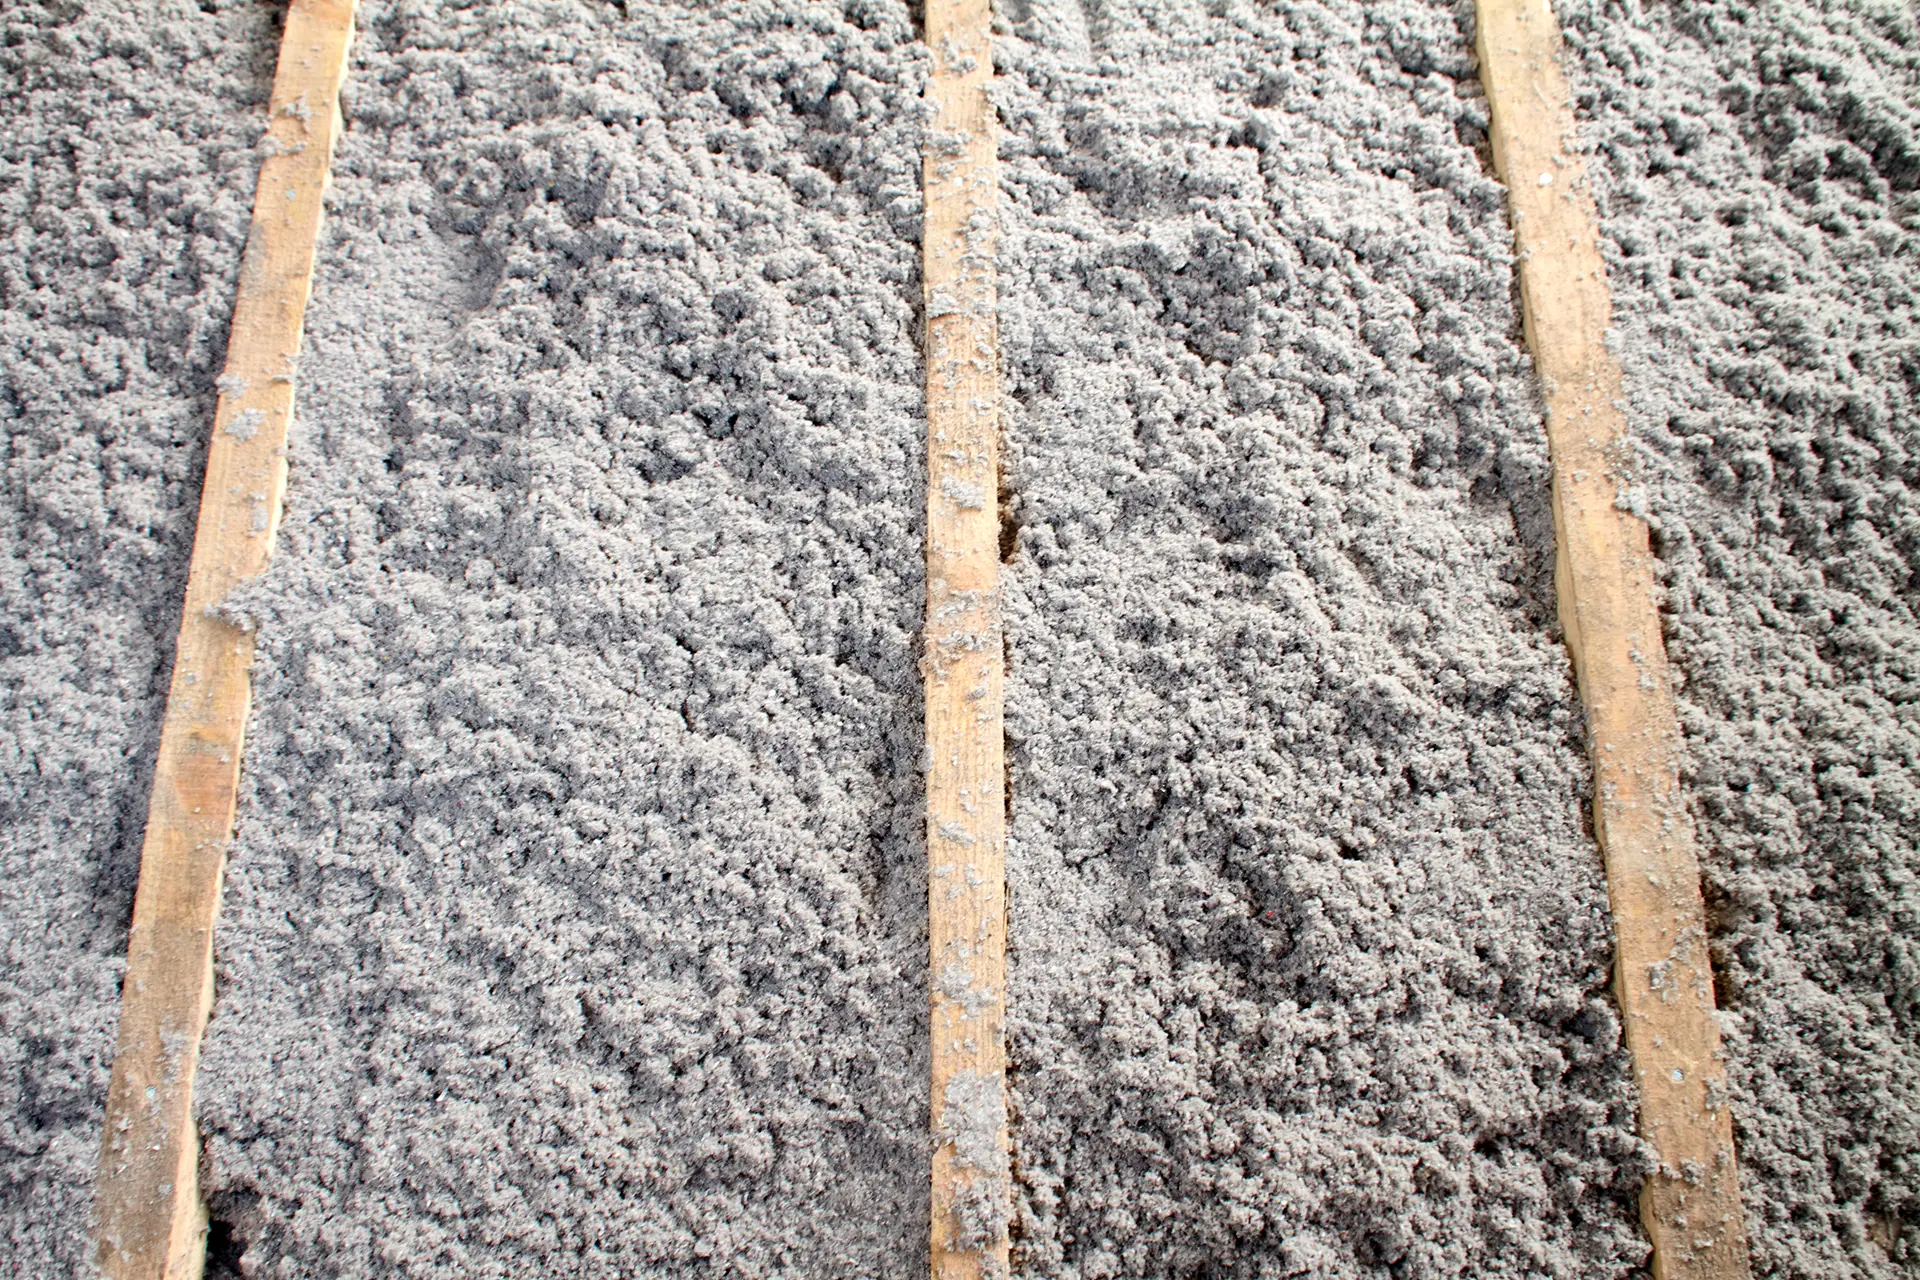
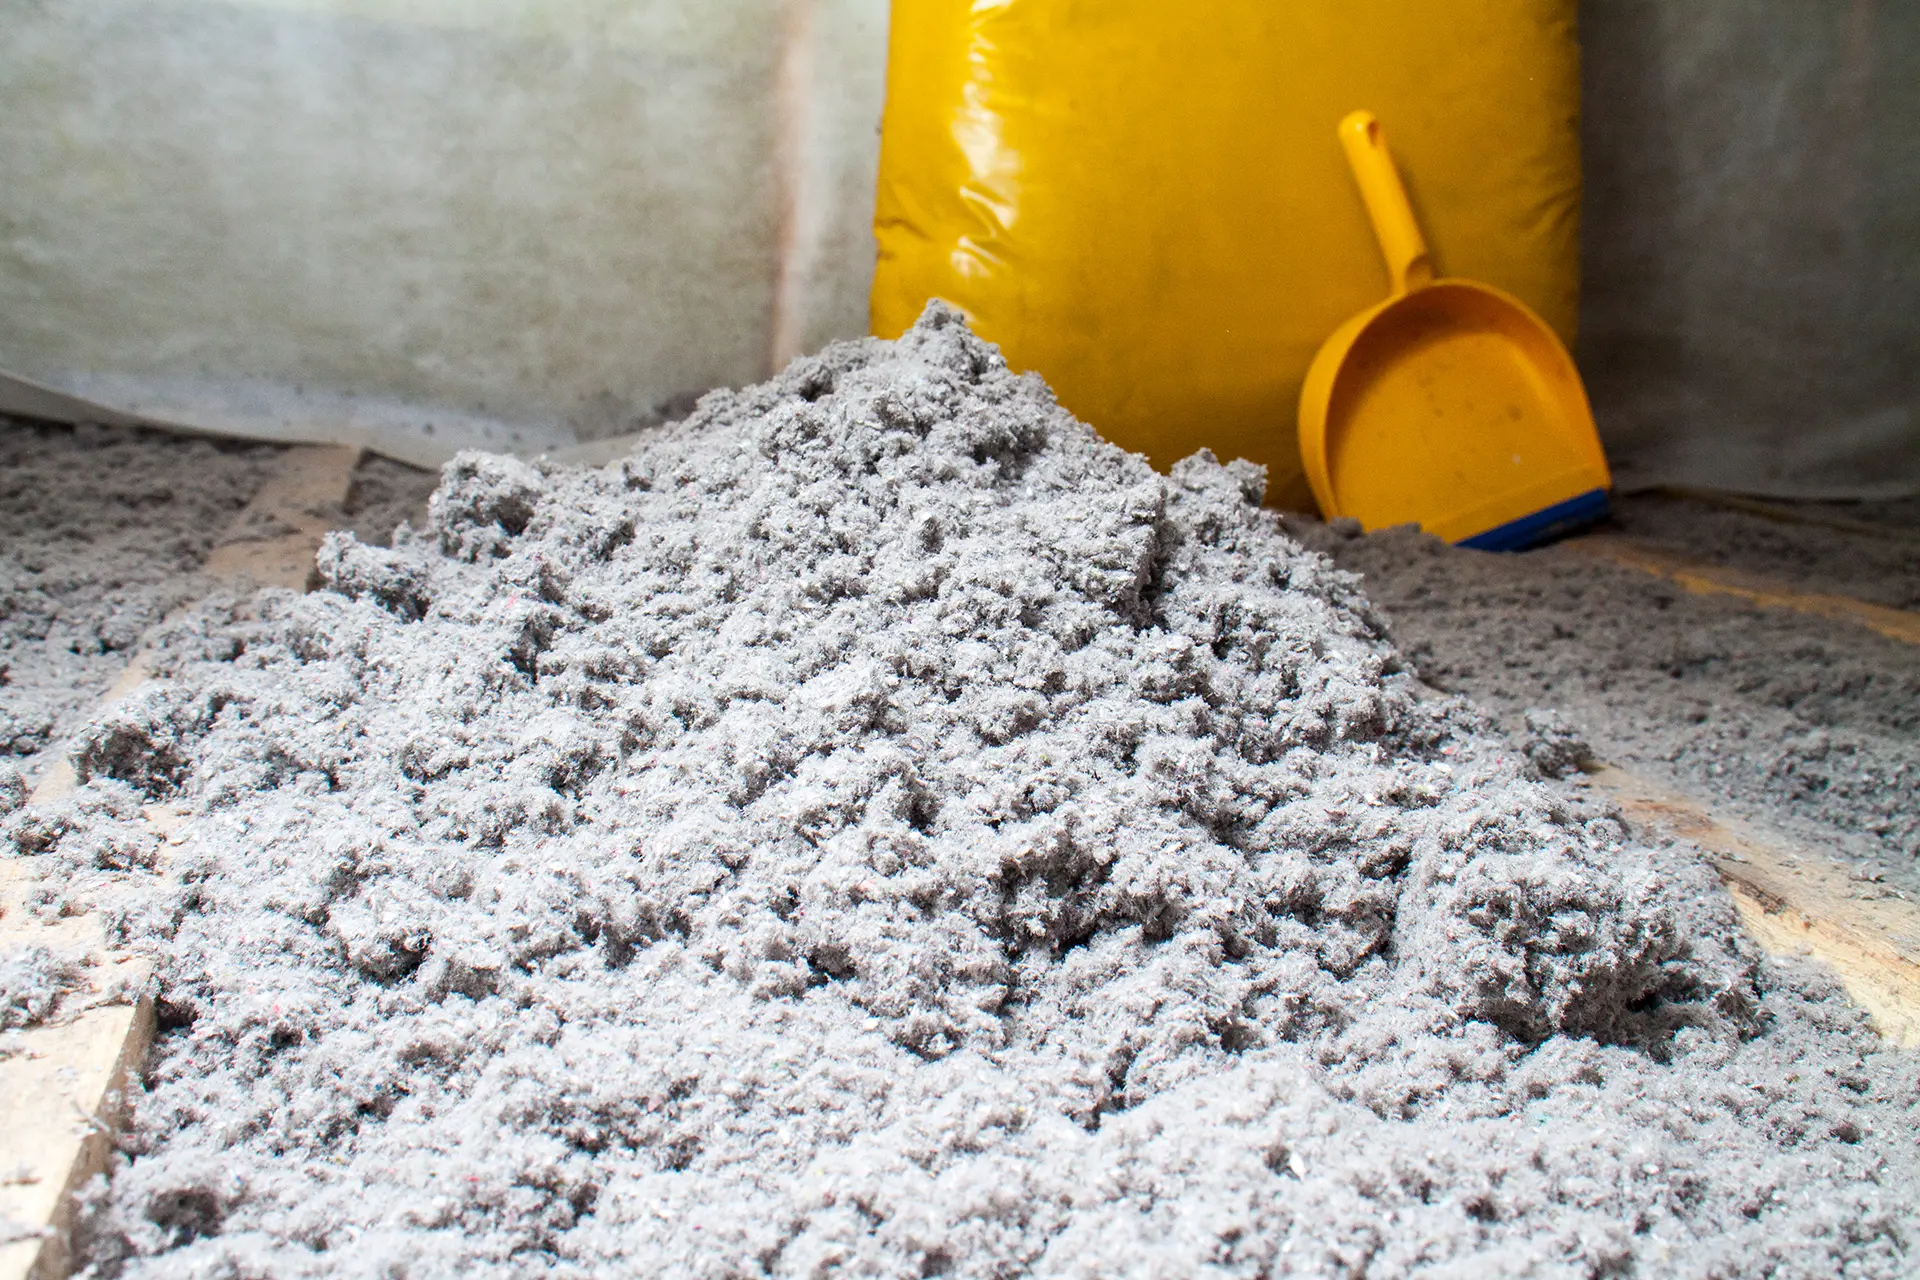
We use blow-in cellulose insulation for both residential and commercial insulation projects. This material is made from various cellulose plant sources, including recycled paper products. Although dense, blow-in cellulose insulation is malleable enough to fit in small spaces.
How to Install Blow-in Insulation
Blow-in cellulose insulation is easy to install—easy enough that you can do it yourself. As the name implies, you just have to spray it wherever you need it. Follow the four-step process below to install it the right way.
4-Step Installation Process
Create an Airtight Seal
Start by filling in any cracks or holes around your plumbing system, ceiling, or electrical wiring. You don’t want air to leak through them.
Mark Insulation Level
Make a note of how much insulation you want to install. Make lines clear with a thick sharpie. Insulating walls necessitates drilling holes in them to direct the blower nozzle. Drill two to three-inch holes between each stud in the walls.
Prep the Insulation and Blower
Now it’s time to prepare the insulation and configure the blower. Place the blower on a tarp outside where you’ll have easy access to the area where you’ll install the insulation.
Pro Tip: Pre-crumble the cellulose so large chunks of it don’t create blockages in the hose.
Blow in the Insulation
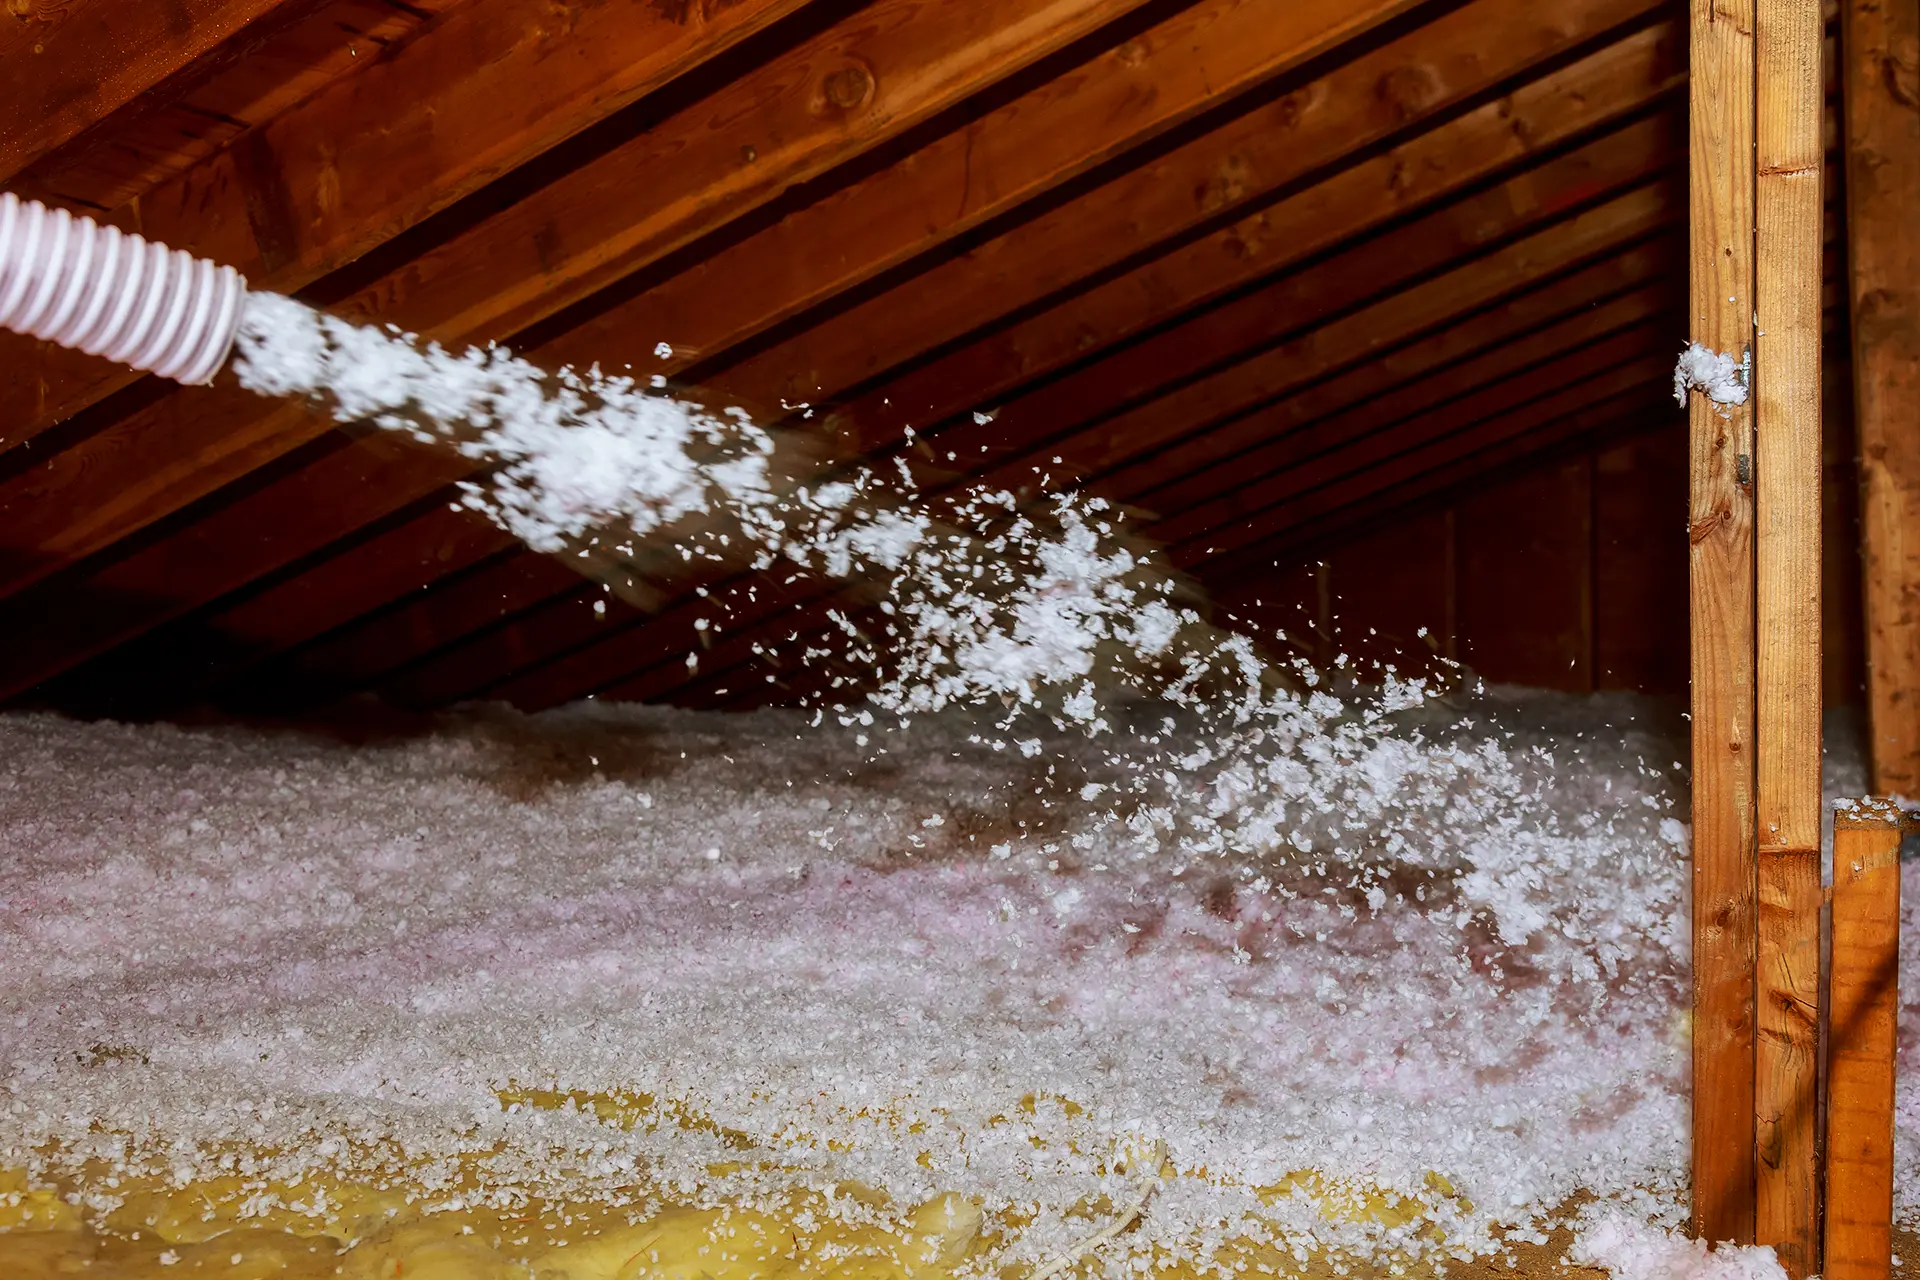
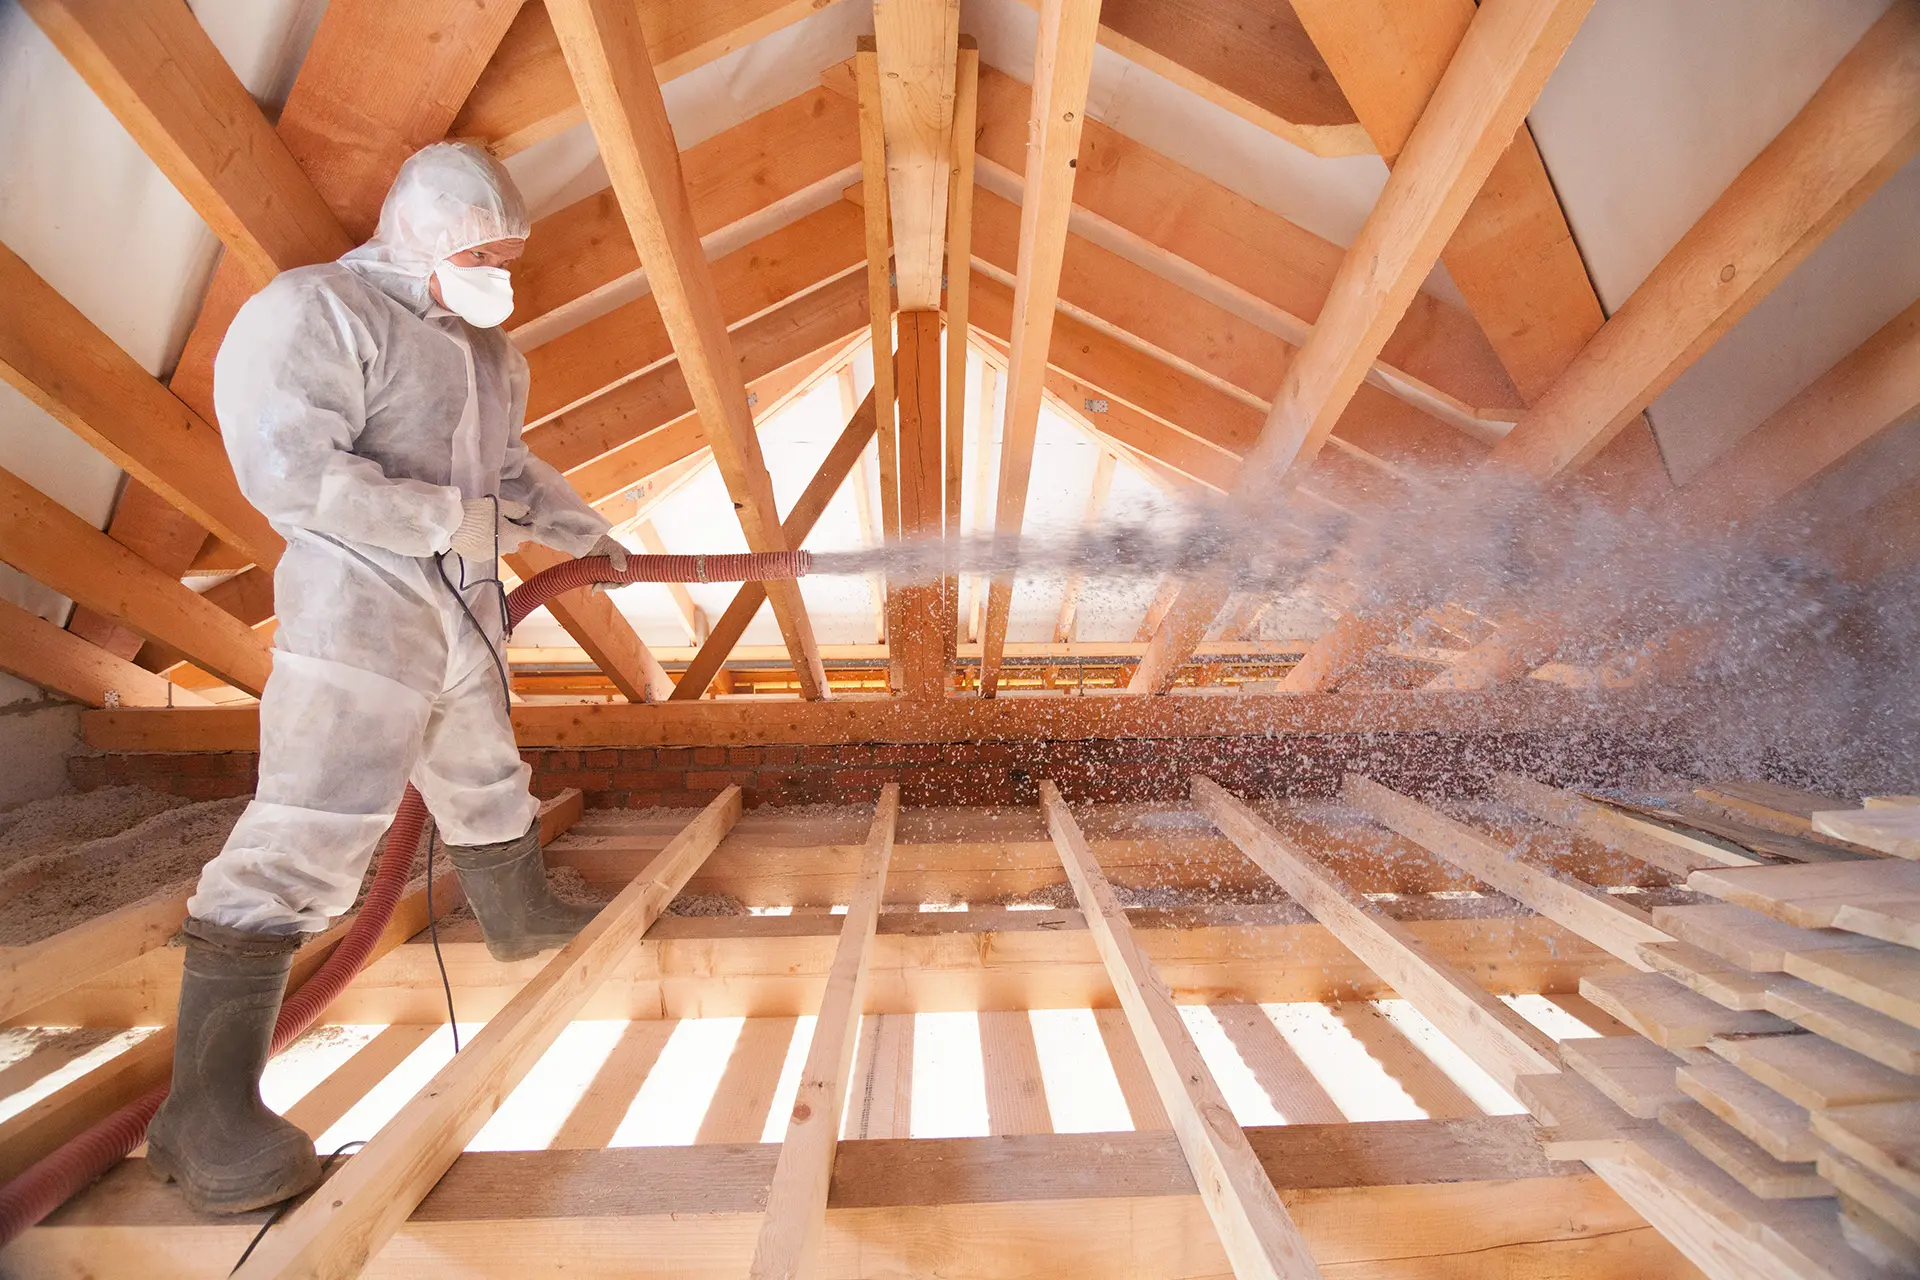
Now you can install the insulation. If you’re installing it in walls, insert the blower hose into the first hole you created in step 2, and direct the nozzle down. Be sure the seal around the nozzle is secure before beginning to blow. When you feel the nozzle being pushed back up, the job is done. When installing insulation in an attic, stand in a central location to ensure level application. Just like you would do when mopping floors, start at the back and work your way to the attic’s entrance. Coat the space evenly for optimal results. Wherever you install the insulation, equip yourself with protective eyewear, a face mask, gloves, and a long-sleeve shirt. This will prevent insulation materials from getting on your skin or in your eyes.
- Create Seal
-
Create an Airtight Seal
Start by filling in any cracks or holes around your plumbing system, ceiling, or electrical wiring. You don’t want air to leak through them.
- Insulation Level
-
Mark Insulation Level
Make a note of how much insulation you want to install. Make lines clear with a thick sharpie. Insulating walls necessitates drilling holes in them to direct the blower nozzle. Drill two to three-inch holes between each stud in the walls.
- Prep
-
Prep the Insulation and Blower
Now it’s time to prepare the insulation and configure the blower. Place the blower on a tarp outside where you’ll have easy access to the area where you’ll install the insulation.
Pro Tip: Pre-crumble the cellulose so large chunks of it don’t create blockages in the hose.
- Install Insulation
-
Blow in the Insulation
Now you can install the insulation. If you’re installing it in walls, insert the blower hose into the first hole you created in step 2, and direct the nozzle down. Be sure the seal around the nozzle is secure before beginning to blow. When you feel the nozzle being pushed back up, the job is done. When installing insulation in an attic, stand in a central location to ensure level application. Just like you would do when mopping floors, start at the back and work your way to the attic’s entrance. Coat the space evenly for optimal results. Wherever you install the insulation, equip yourself with protective eyewear, a face mask, gloves, and a long-sleeve shirt. This will prevent insulation materials from getting on your skin or in your eyes.
3 Common Mistakes Made When Installing Blown-In Insulation
When installing blow-in cellulose insulation, steer clear of these common mistakes.

Not Sealing Air Leaks
Failing to seal air leaks inside your walls or in your attic will cause both air and insulation materials to escape through them. You need an airtight seal for this process to provide desired results.

Incomplete Insulation
When installing blow-in cellulose insulation, you want to fill the entire space. Failing to do so will result in uneven insulation. Be thorough.

Stepping Through the Ceiling
If you’re installing insulation in your attic, tread carefully to avoid stepping through the ceiling.
Pros & Cons of Blown-In Cellulose Insulation
Blow-in cellulose insulation is accompanied by an easy installation process. That’s why it’s the insulation material of choice for homeowners and business owners across the country. With all its advantages, blow-in cellulose insulation also has some drawbacks. Check out the top pros and cons of this insulation type to help you decide if it’s right for your space.
Advantages of Blown-In Cellulose Insulation
Flexible
Cost-Effective
Environmentally Friendly
Disadvantages of Blown-In Cellulose Insulation
Leaves Gaps
Captures Moisture
Blown-In Cellulose vs. Other Insulation Types
Blow-in cellulose insulation enables you to avoid a full remodel when insulating walls that are already closed off. You’ll still need to patch and paint over holes, but that’s much easier and cheaper than tearing down walls and building new ones. If your walls aren’t sealed off yet, you may prefer to use a different insulation type—such as fiberglass roll insulation or fiberglass batts. When it comes to insulating attics, blow-in cellulose insulation is the go-to choice. It’s easy to install in inaccessible areas and around obstructions.
See What Our Clients Have To Say
Looking for a Blow-In Cellulose Insulation?
Contact Legacy Roofing & Solar Today
As a family-owned and operated residential roofing contractor, we’re proud to serve families with quality blow-in cellulose insulations they can trust. Guided by the principles of quality, safety, and community, our goal is to make clients happy with their building’s insulation. Our professional team of insulation contractors have the experience needed to keep your home or business comfortable year-round. Get in touch with us today!
